
Before embarking on a drywall installation project, proper preparation of the room is essential for ensuring a smooth and successful process. From clearing the space to inspecting the walls for damage, each step plays a crucial role in laying the groundwork for a flawless installation. In this guide, we’ll walk you through the necessary steps to prepare your room for drywall installation, ensuring a seamless transformation of your space.
Clearing the Space

Clearing the space is the first step in preparing your room for drywall installation. Begin by removing all furniture, fixtures, and decorations from the room to create a clean and open workspace for the installation team. This includes items such as sofas, tables, lamps, and artwork. By clearing the space completely, you’ll provide ample room for the installation team to maneuver and work efficiently. Additionally, protecting floors and surfaces with drop cloths or plastic sheeting will help prevent damage from dust and debris during the installation process. Carefully cover any exposed flooring, countertops, or furniture to ensure they remain clean and undamaged throughout the project. Ensuring adequate workspace for the installation team is essential for a smooth and efficient installation process. By clearing the space and protecting surfaces, you’ll create an ideal environment for the installation team to work effectively and achieve professional-quality results.
Inspecting the Walls
Before installing new drywall, it’s essential to inspect the walls for any existing damage or issues that may need to be addressed. This includes checking for cracks, holes, or moisture damage that could affect the integrity of the new drywall. Inspecting the walls thoroughly will allow you to identify any areas that require repair before proceeding with the installation. Additionally, it’s essential to identify and address any potential obstacles that may interfere with the installation process, such as electrical outlets or plumbing fixtures. By inspecting the walls and addressing any issues beforehand, you’ll ensure a smooth and successful drywall installation process.
Gathering Tools and Materials
Once the space has been cleared and the walls have been inspected, it’s time to gather the necessary tools and materials for the installation process. Make a list of essential tools and materials needed for the project, including drywall panels, joint compound, screws, and tape. Ensure all necessary items are on hand before beginning the installation to avoid delays or interruptions. Additionally, consider renting or purchasing any specialized tools required for the job, such as drywall lifts or cutting tools. By gathering all the necessary tools and materials beforehand, you’ll be well-prepared to tackle the drywall installation project with confidence and efficiency.
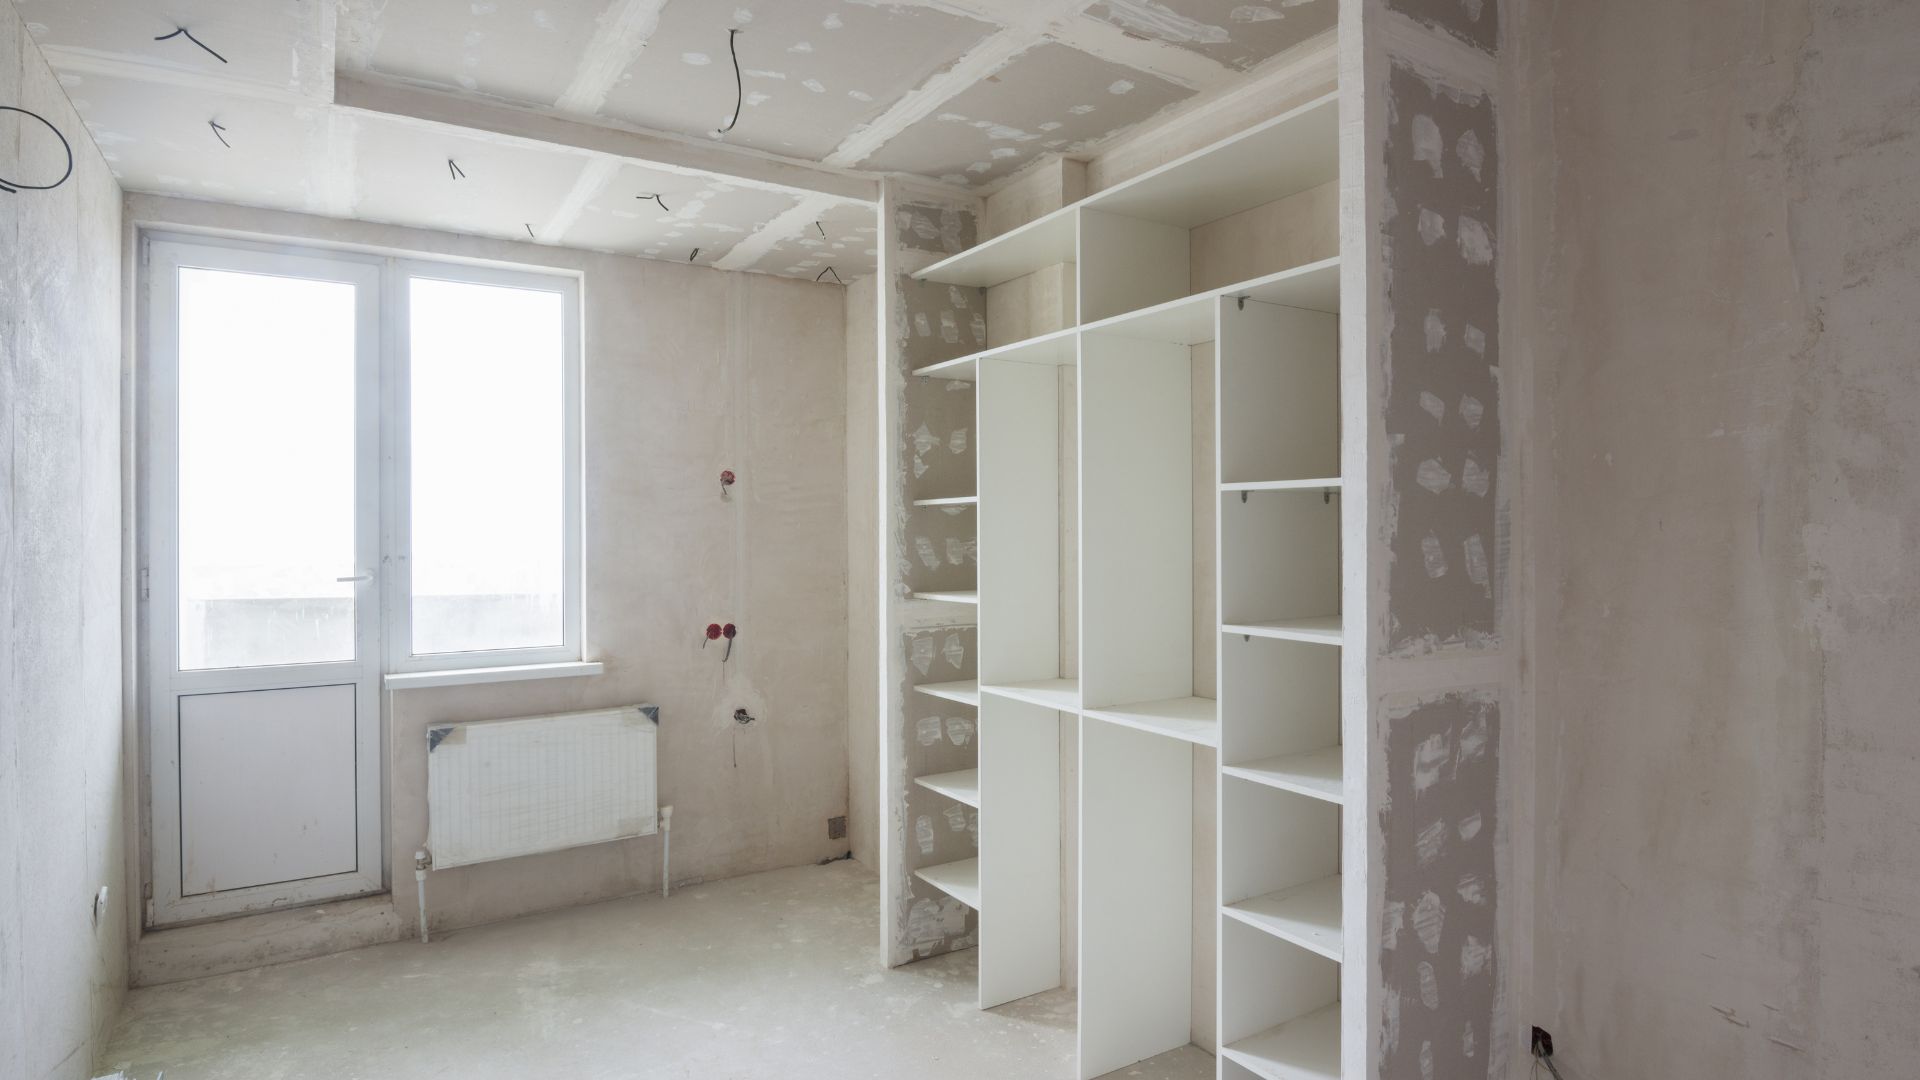
Preparing the Substrate
Preparing the substrate is an essential step in ensuring a successful drywall installation. Start by ensuring the framing is in good condition and properly aligned, as this will provide a stable foundation for the drywall panels. If necessary, add blocking or additional support to the framing to ensure it can adequately support the weight of the drywall. Additionally, consider installing insulation or soundproofing materials if desired, as this can help improve the energy efficiency and acoustics of the room. By preparing the substrate properly, you’ll create a solid foundation for the drywall installation, ensuring a durable and long-lasting finished product.
Preparing for Electrical and Plumbing Work
Before installing drywall, it’s essential to coordinate any necessary electrical or plumbing work that may be required. Consult with electricians or plumbers to make any necessary adjustments or installations before proceeding with the drywall installation. Mark the locations of electrical outlets, switches, and plumbing fixtures on the walls to ensure they align with the new drywall panels. Additionally, cut openings in the drywall for outlets and fixtures before installation to ensure a precise fit. By preparing for electrical and plumbing work beforehand, you’ll avoid potential complications or delays during the installation process.
Cleaning and Dust Management
Finally, cleaning and dust management are essential steps in preparing your room for drywall installation. Remove dust and debris from the room to create a clean and safe working environment for the installation team. Sealing off HVAC vents and covering ductwork will help prevent dust buildup and contamination during the installation process. Additionally, consider using dust barriers or containment systems to minimize mess and cleanup time. By implementing proper cleaning and dust management practices, you’ll ensure a clean and healthy environment for the installation team and minimize the impact of dust and debris on your home.
In conclusion, proper preparation of your room is essential for ensuring a successful drywall installation process. By following the steps outlined in this guide, including clearing the space, inspecting the walls, gathering tools and materials, preparing the substrate, coordinating electrical and plumbing work, and implementing proper cleaning and dust management practices, you’ll create an ideal environment for a smooth and efficient drywall installation. If you’re unsure about how to prepare your room for drywall installation or need assistance with the process, don’t hesitate to contact CareKter Design & Remodeling. Our team of experts is here to provide guidance, support, and professional services to ensure the success of your drywall installation project.