

Drywall is a ubiquitous material in modern homes, known for its durability and versatility. However, over time, it’s not uncommon for drywall to develop issues such as cracks, holes, water damage, or nail pops. While these problems may seem daunting, with the right tools and techniques, many homeowners can tackle drywall repair projects themselves. In this guide, we’ll walk you through the steps to identify and fix common drywall issues, empowering you to maintain the integrity and appearance of your walls.
Drywall issues often stem from various factors such as settling, moisture, or normal wear and tear. By learning how to address these issues promptly, you can prevent them from escalating into more significant problems and preserve the beauty of your home’s interior. Whether you’re dealing with minor cracks or larger holes, this guide will equip you with the knowledge to handle drywall repairs effectively.
Identifying Common Issues
Before diving into repairs, it’s essential to identify the specific issues affecting your drywall. Cracks, for example, may be caused by settling or temperature fluctuations, while holes can result from accidental impacts or the removal of fixtures. Water damage is often a result of leaks or flooding, while nail pops occur when drywall screws or nails loosen over time. Understanding the root cause of each problem will guide your repair approach, ensuring long-lasting results. By thoroughly inspecting your walls and ceilings, you can pinpoint the areas that require attention and plan your repair strategy accordingly.
Tools and Materials Needed
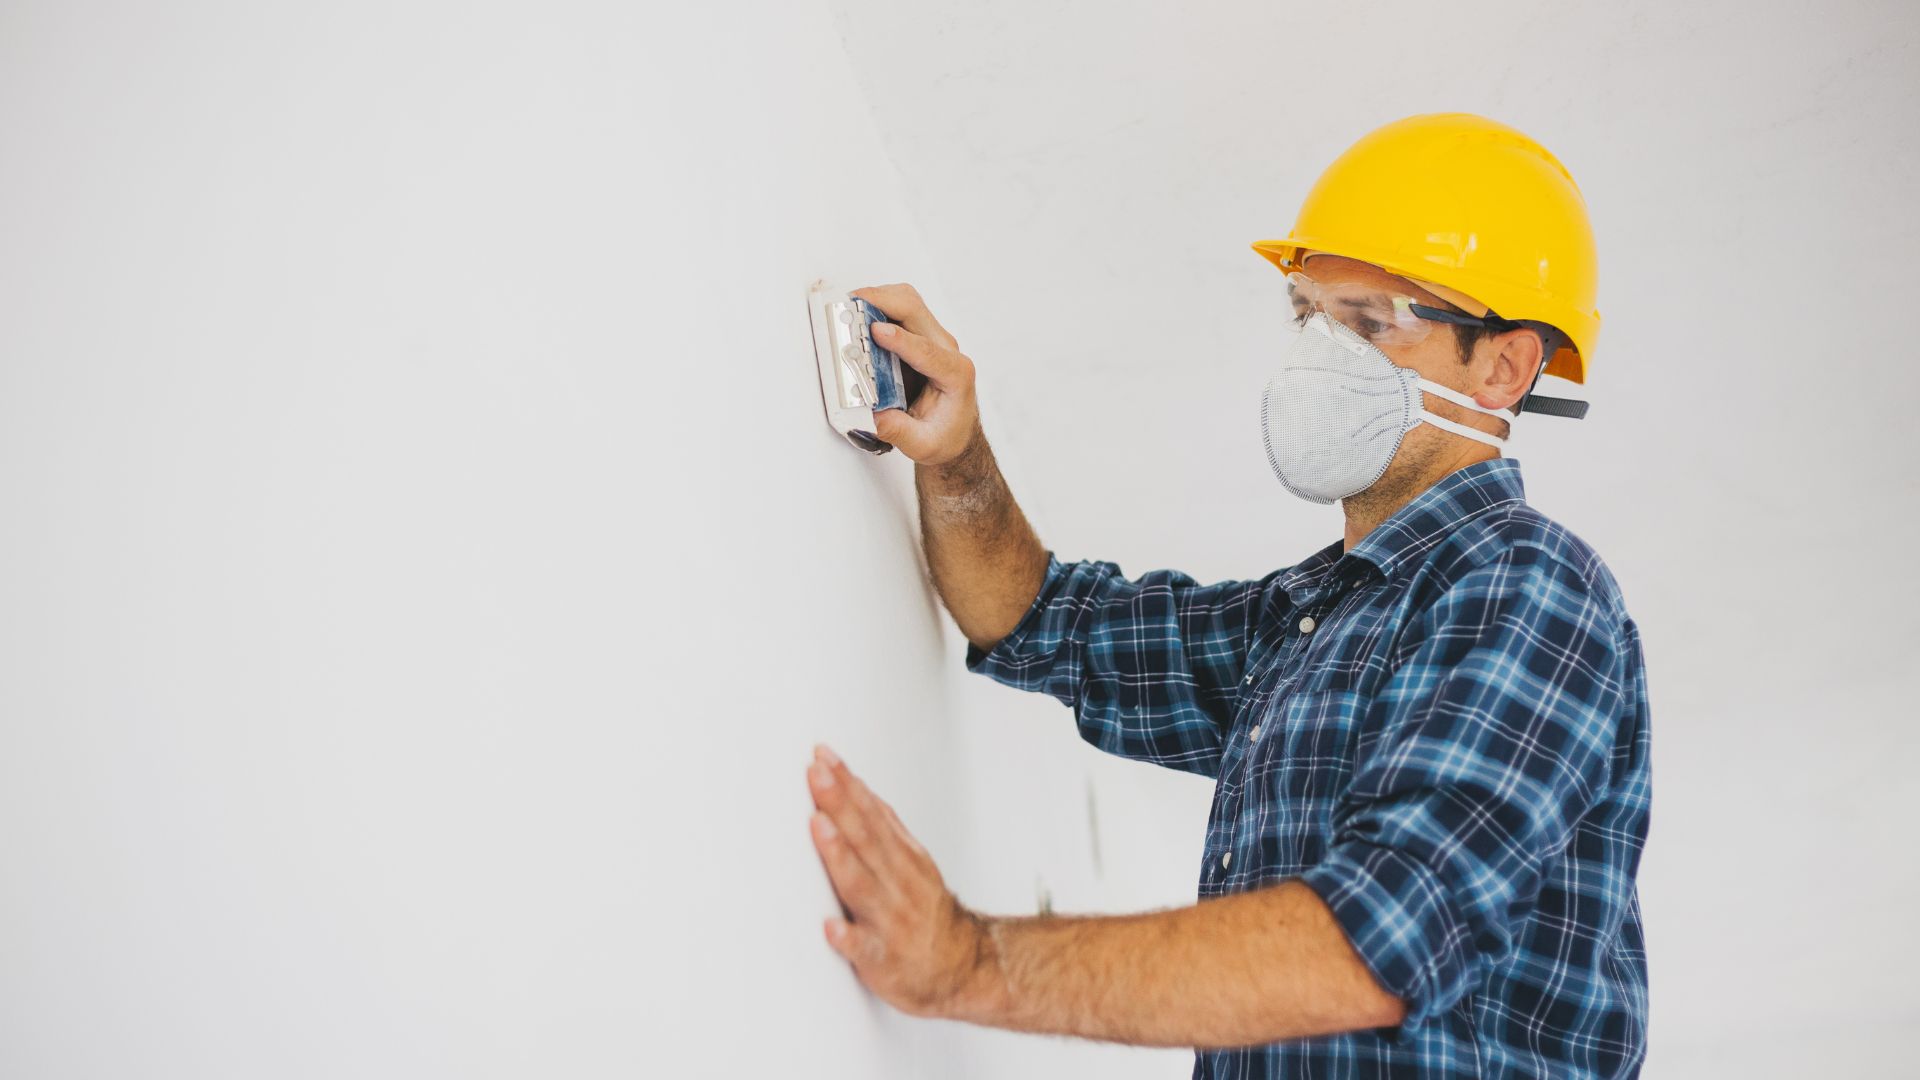
To tackle drywall repairs effectively, you’ll need a few essential tools and materials. These include joint compound, drywall tape, sandpaper, a putty knife, and patching material. Optional tools such as a drywall saw or utility knife may also come in handy for specific repairs. Ensuring you have the right tools on hand before starting your project will streamline the repair process and help you achieve professional-looking results. Additionally, wearing safety gear such as goggles and a dust mask is essential to protect yourself from dust and debris generated during the repair process.
Patching Small Holes and Cracks
Small holes and cracks in drywall are common issues that can be easily repaired with joint compound. Start by cleaning the area around the damaged area and applying a thin layer of compound over the hole or crack. Press drywall tape into the compound, smoothing it out to remove any air bubbles. Once dry, apply additional layers of compound, feathering the edges to blend with the surrounding surface. Sand the area smooth and apply primer before painting to achieve a seamless finish that matches the rest of the wall.
Repairing Large Holes
For larger holes in drywall, a patching technique is required to ensure a sturdy repair. Begin by cutting a piece of drywall slightly larger than the hole, then secure it in place with screws or adhesive. Apply joint compound over the seams, feathering the edges to blend with the surrounding surface. Allow the compound to dry completely before sanding and applying additional layers as needed. Once the repair is smooth and level, prime and paint the area to match the rest of the wall seamlessly.
Fixing Water Damage
Water damage to drywall can be more challenging to repair, as it often requires cutting out the damaged section and replacing it with new drywall. Start by assessing the extent of the damage and cutting away any affected areas using a utility knife or drywall saw. Once the damaged section is removed, cut a replacement piece of drywall to fit and secure it in place with screws. Tape and mud the seams as you would with any other drywall repair, ensuring a smooth finish that blends with the surrounding surface.
Dealing with Nail Pops
Nail pops are another common issue that can detract from the appearance of your walls. To fix nail pops, start by removing the popped nail and replacing it with a new screw slightly above or below the original location. Secure the drywall to the stud, then patch the area with joint compound and sand it smooth. By addressing nail pops promptly, you can prevent further damage and maintain the structural integrity of your walls.
Texturing and Painting
Once the repairs are complete, you may need to texture the repaired areas to match the existing wall texture. Experiment with different techniques and tools to achieve a finish that blends seamlessly with the surrounding surface. Once the texture is applied and dry, prime the repaired areas before painting to ensure uniform coverage and a professional-looking finish.
In conclusion, knowing how to identify and fix common drywall issues is a valuable skill for any homeowner. By following the steps outlined in this guide, you can address cracks, holes, water damage, and nail pops with confidence, restoring the beauty and integrity of your walls. Remember to take your time, use the right tools and materials, and prioritize safety throughout the repair process. If you encounter more extensive damage or feel unsure about tackling the repairs yourself, don’t hesitate to contact CareKter Design & Remodeling for expert assistance. With our professional drywall repair services, you can ensure your walls are restored to perfection, enhancing the overall look and feel of your home.